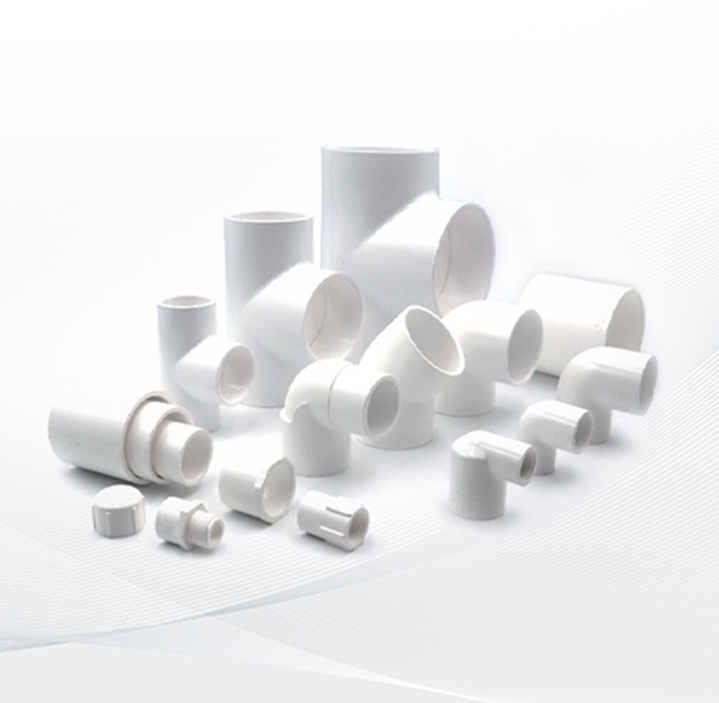
PVC Schedule 40 is a go-to material for small plumbing repairs due to its affordability, ease of use, and durability. Whether repairing a leak or rerouting a short section of pipe, this material offers a straightforward solution for homeowners, contractors, and maintenance professionals. LESSO America provides a wide range of PVC Schedule 40 products that meet industry standards for size and reliability.
Cutting the Pipe Cleanly and Accurately
To begin a repair, measure the section of PVC Schedule 40 that needs to be replaced. Mark the pipe using a pencil or marker. For clean cuts, use a fine-toothed saw, a PVC pipe cutter, or a miter saw. It’s important to cut the pipe squarely for a tight and even joint.
Once cut, deburr the edges using a utility knife or sanding tool to remove plastic shavings. Smooth pipe ends help ensure a solid connection and reduce the risk of leaks.
Joining with Solvent Cement
Dry-fit the replacement pipe and fittings first to ensure proper alignment. Once everything lines up, use a primer to clean and soften the pipe and fitting surfaces. This prepares the plastic for bonding. Apply a generous, even coat of solvent cement to both the pipe and the inside of the fitting.
Push the pipe fully into the fitting with a slight twisting motion. Hold it in place for 15–30 seconds to allow the bond to set. Wipe away any excess cement. Allow the joint to cure according to the manufacturer’s recommended time before testing the system.
Conclusion
Repairing plumbing with PVC Schedule 40 is a manageable task when done correctly. LESSO America‘s quality pipes and fittings help users achieve reliable connections for minor fixes or full replacements. With the right tools and attention to detail, small plumbing repairs using Schedule 40 can be completed efficiently and with confidence.